In part one of this tutorial - Using Static Variables - we examined the difference in behaviour between an ordinary local variable and a static variable. We learnt that whilst both types can only be referenced within the same sub procedure or function in which they were declared, the value of a static variable is retained after code in the sub procedure or function has completed execution. The terms we used to understand this behaviour were scope and lifetime respectively.
In part two, this current post, we are going to consider how we can use the unique scope and lifetime of a static variable to our advantage. In order to illustrate this we shall examine the workings of an order counter custom control comprised of a textbox and two control buttons.
 |
| An Order Counter Control |
This sort of control may be familiar to you if you order your groceries online. It usually appears under an image of a product and allows the customer to set the order amount by clicking the plus and minus buttons without having to type in the actual number in the textbox. It is of interest to us because it lends itself to the use of a static variable to keep track of the order amount.
The advantage of Static Variables
So what is it about static variables that make them advantageous to use in contexts such as that of our order counter control? To understand this lets take look at how the VBA code used to power this it is organised.
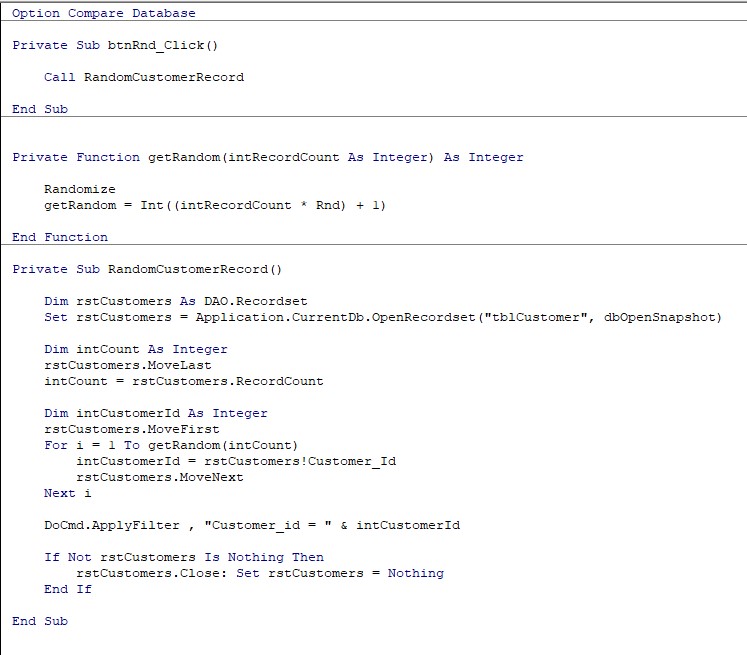
 |
| VBA Code Powering the Order Counter |
As we can see, the coding for the form containing the order counter is comprised of five sub-procedures and a general declarations section where three constants, INITIALIZE, INCREMENT, and DECREMENT are declared. Three of these sub-procedures, Form_Load(), cmdMinus_Click(), and cmdPlus_Click(), contain event handling code which execute when the form opens, or the minus and plus buttons are clicked, respectively. Each consist of one statement calling changeOrderAmount(...), the sub-procedure used to calculate the order amount displayed in the txtOrderValue textbox. This is the location where our static variable, intOrderAmount, is declared.
It is in the changeOrderAmount(...) sub-procedure where the value of intOrderAmount is initialized, incremented or decremented within a SELECT...CASE statement, which is, in turn, based on the value of the intApplyChange argument it received when called. For example, if the INCREMENT constant was received, the value of intOrderAmount is incremented by 1. Likewise, DECREMENT decreases the value by 1, and INITIALIZE sets the value to 0. Note the fact that the actual order amount is not set directly when incremented or decremented, but is calculated from its previous value. For this reason intOrderAmount has to persist across multiple calls to the sub procedure, and is why it is declared as Static.
In order to achieve the above without using a static variable, we could instead declare intOrderAmount in the general declarations section of the form's code module using a Dim statement or the Private keyword. This gives the variable a module level scope and lifetime: it can now be referenced from any sub-procedure or function within the same module, and any value it contains will be retained while the form connected to the module remains open. As such, the module level version of intOrderAmount has the same lifetime as our original static version declared within the changeOrderAmount(...) sub-procedure. However, since the variable only needs to be referenced from within the sub-procedure, to give it module level scope in the above mentioned way will leave it unnecessarily exposed to accidental editing as well as making our code less easy to read.
These issues arising from module level scope become more pronounced as more code is added to the module. Other functions and sub procedures are likely to use their own variables, some of which may also have module level scope. These are generally less easy to keep track of because they can be modified from any location in the module, often under a variety of different conditions. In this sort of context it becomes increasingly difficult to read and understand our code, and there is a greater chance of accidentally referencing a different variable to the one intended, especially if it has a similar name or performs a similar role. As such, using a static variable with a scope local to the sub-procedure or function in which it is declared, whilst also retaining it value over multiple calls, is the much better option.
Conclusion
The advantage of using static variables lies in the fact that they are, on the one hand, declared within a sub-procedure or function, and thereby have a local scope; and on the other hand, retain their value once code in the parent sub-procedure or function has completed execution. As a result, the variable is protected against accidental editing from code elsewhere in the project, whilst retaining its value in order to keep a running total over multiple calls to its parent sub procedure or function. Furthermore, since static variables are declared within sub-procedures or functions, as opposed to an external location in the project, our code is more manageable, and hence easier to read and understand. Generally speaking, our code is more streamlined and robust.
.")